Written by Kathy Watt
Vitrigraph Demonstration by Kerry Transtrum
Link to Bullseye Tech Notes Kerry suggested during Demo
technotes_02.pdf (bullseyeglass.com)
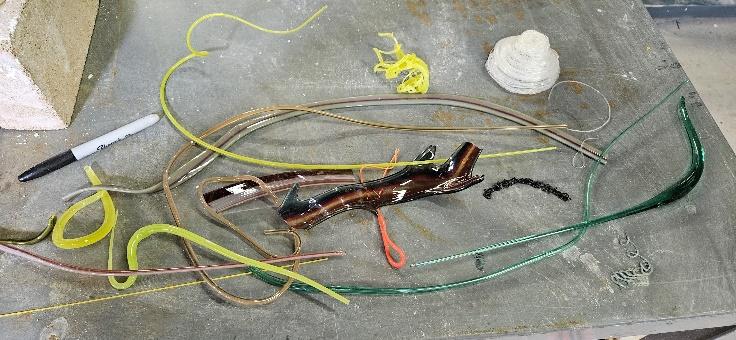
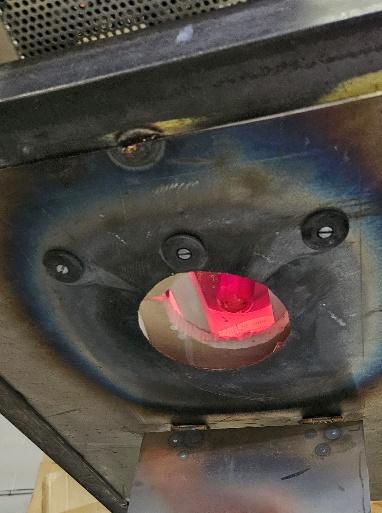
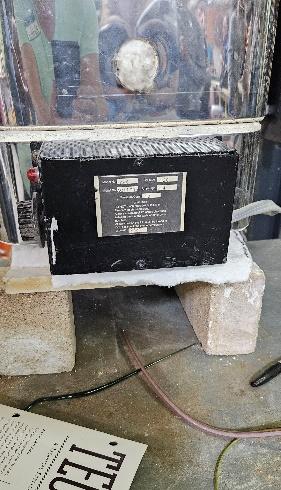
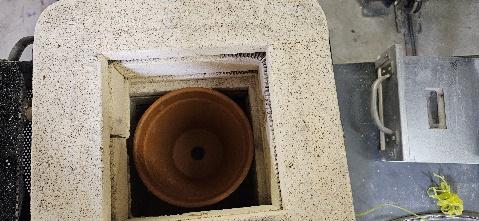
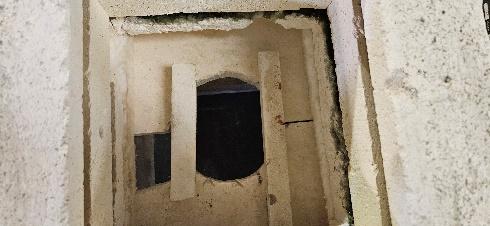
Kerry demo’d how he puts his kiln together. He uses an old kiln shelf with a large hole as the base. And then places fiber blanket on the shelf as a dam around the pot in case the pot breaks. He buys pots that are made in Italy as they don’t break as often and are only one time use. The pot is placed on ceramic stilts to allow for circulation around the bottom of the pot. In order to create larger vitrigraph, the hole in the bottom of the pot is enlarged. The hole will create about half the diameter of vitrigraph, so a .5” hole will create about a .25” stringer. Larger holes create larger vitrigraph. Different shapes can be used in the bottom of the pot to create different effects. Ex. Slots can be used to create ribbons.

Version:1.0 StartHTML:0000000167 EndHTML:0000001411 StartFragment:0000000457 EndFragment:0000001395
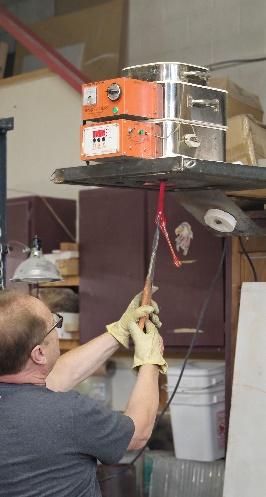
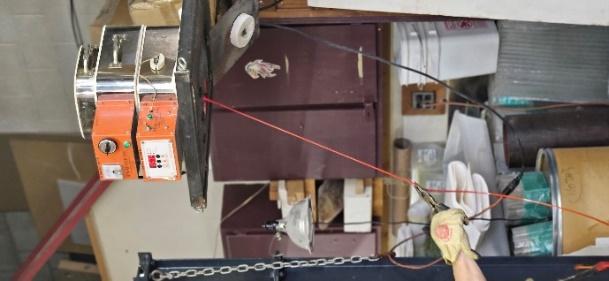
The pot is filled with scraps of glass and placed into the kiln. When Kerry starts heating his kiln, he starts heating on a medium temp to avoid thermal shocking the pot. After about 30 min, turn the temp up to reach processing temp. Glass should be ready to pull in about 30 min. If not, glass plug can be heated using a butane torch. Bring kiln up to 1625-1650 F. If glass starts to run too fast, back off heat immediately.
Wear appropriate safety equipment such as safety glasses, heavy-duty thermal/steel gloves and closed toe shoes. Use long nose pliers to pull glass. Pulling fast creates thinner stringers, slower pulling creates thicker vitragraph. Glass can be manipulated using different metal tools. Kerry has special high heat mittens purchased from a refractory distributor with a price range of $400.